

Installation Guide
This guide walks you through installing the Sync Labs plugin for DaVinci Resolve, launching it for the first time, and signing in to your Sync Labs account.
Prerequisites
- DaVinci Resolve Studio 19.0.2 or later installed — the plugin does not work with the free edition of DaVinci Resolve.
- A supported operating system: macOS 14.5 (Sonoma) or later, or Windows 10/11 (64-bit, x64). Windows on ARM and Linux are not supported.
- Administrator access on your computer — the installer needs it to add the plugin to DaVinci Resolve’s system plugin folder.
- A Sync Labs account — sign up here if you don’t have one.
Workflow Integration plugins only load in DaVinci Resolve Studio. If you’re on the free edition, the plugin won’t appear under Workflow Integrations after installing.
Where to Get the Plugin
Download the plugin from the Sync Labs download page — it detects your operating system and serves the right installer automatically.
Open the download page
Go to sync.so/download/resolve-plugin. Your download starts automatically. If it doesn’t, or you’re on a different machine than the one you edit on, use the macOS / Windows links on the page to grab the installer you need.
Run the installer
- macOS — open the downloaded
.pkgfile and follow the prompts. The installer is signed and notarized by Apple. - Windows — run the downloaded
-setup.exeand follow the prompts.
The installer will ask for administrator permission, since the plugin installs into DaVinci Resolve’s system plugin folder.
Opening the Plugin in DaVinci Resolve
Open the Sync Labs plugin
In the menu bar, go to Workspace > Workflow Integrations > sync.
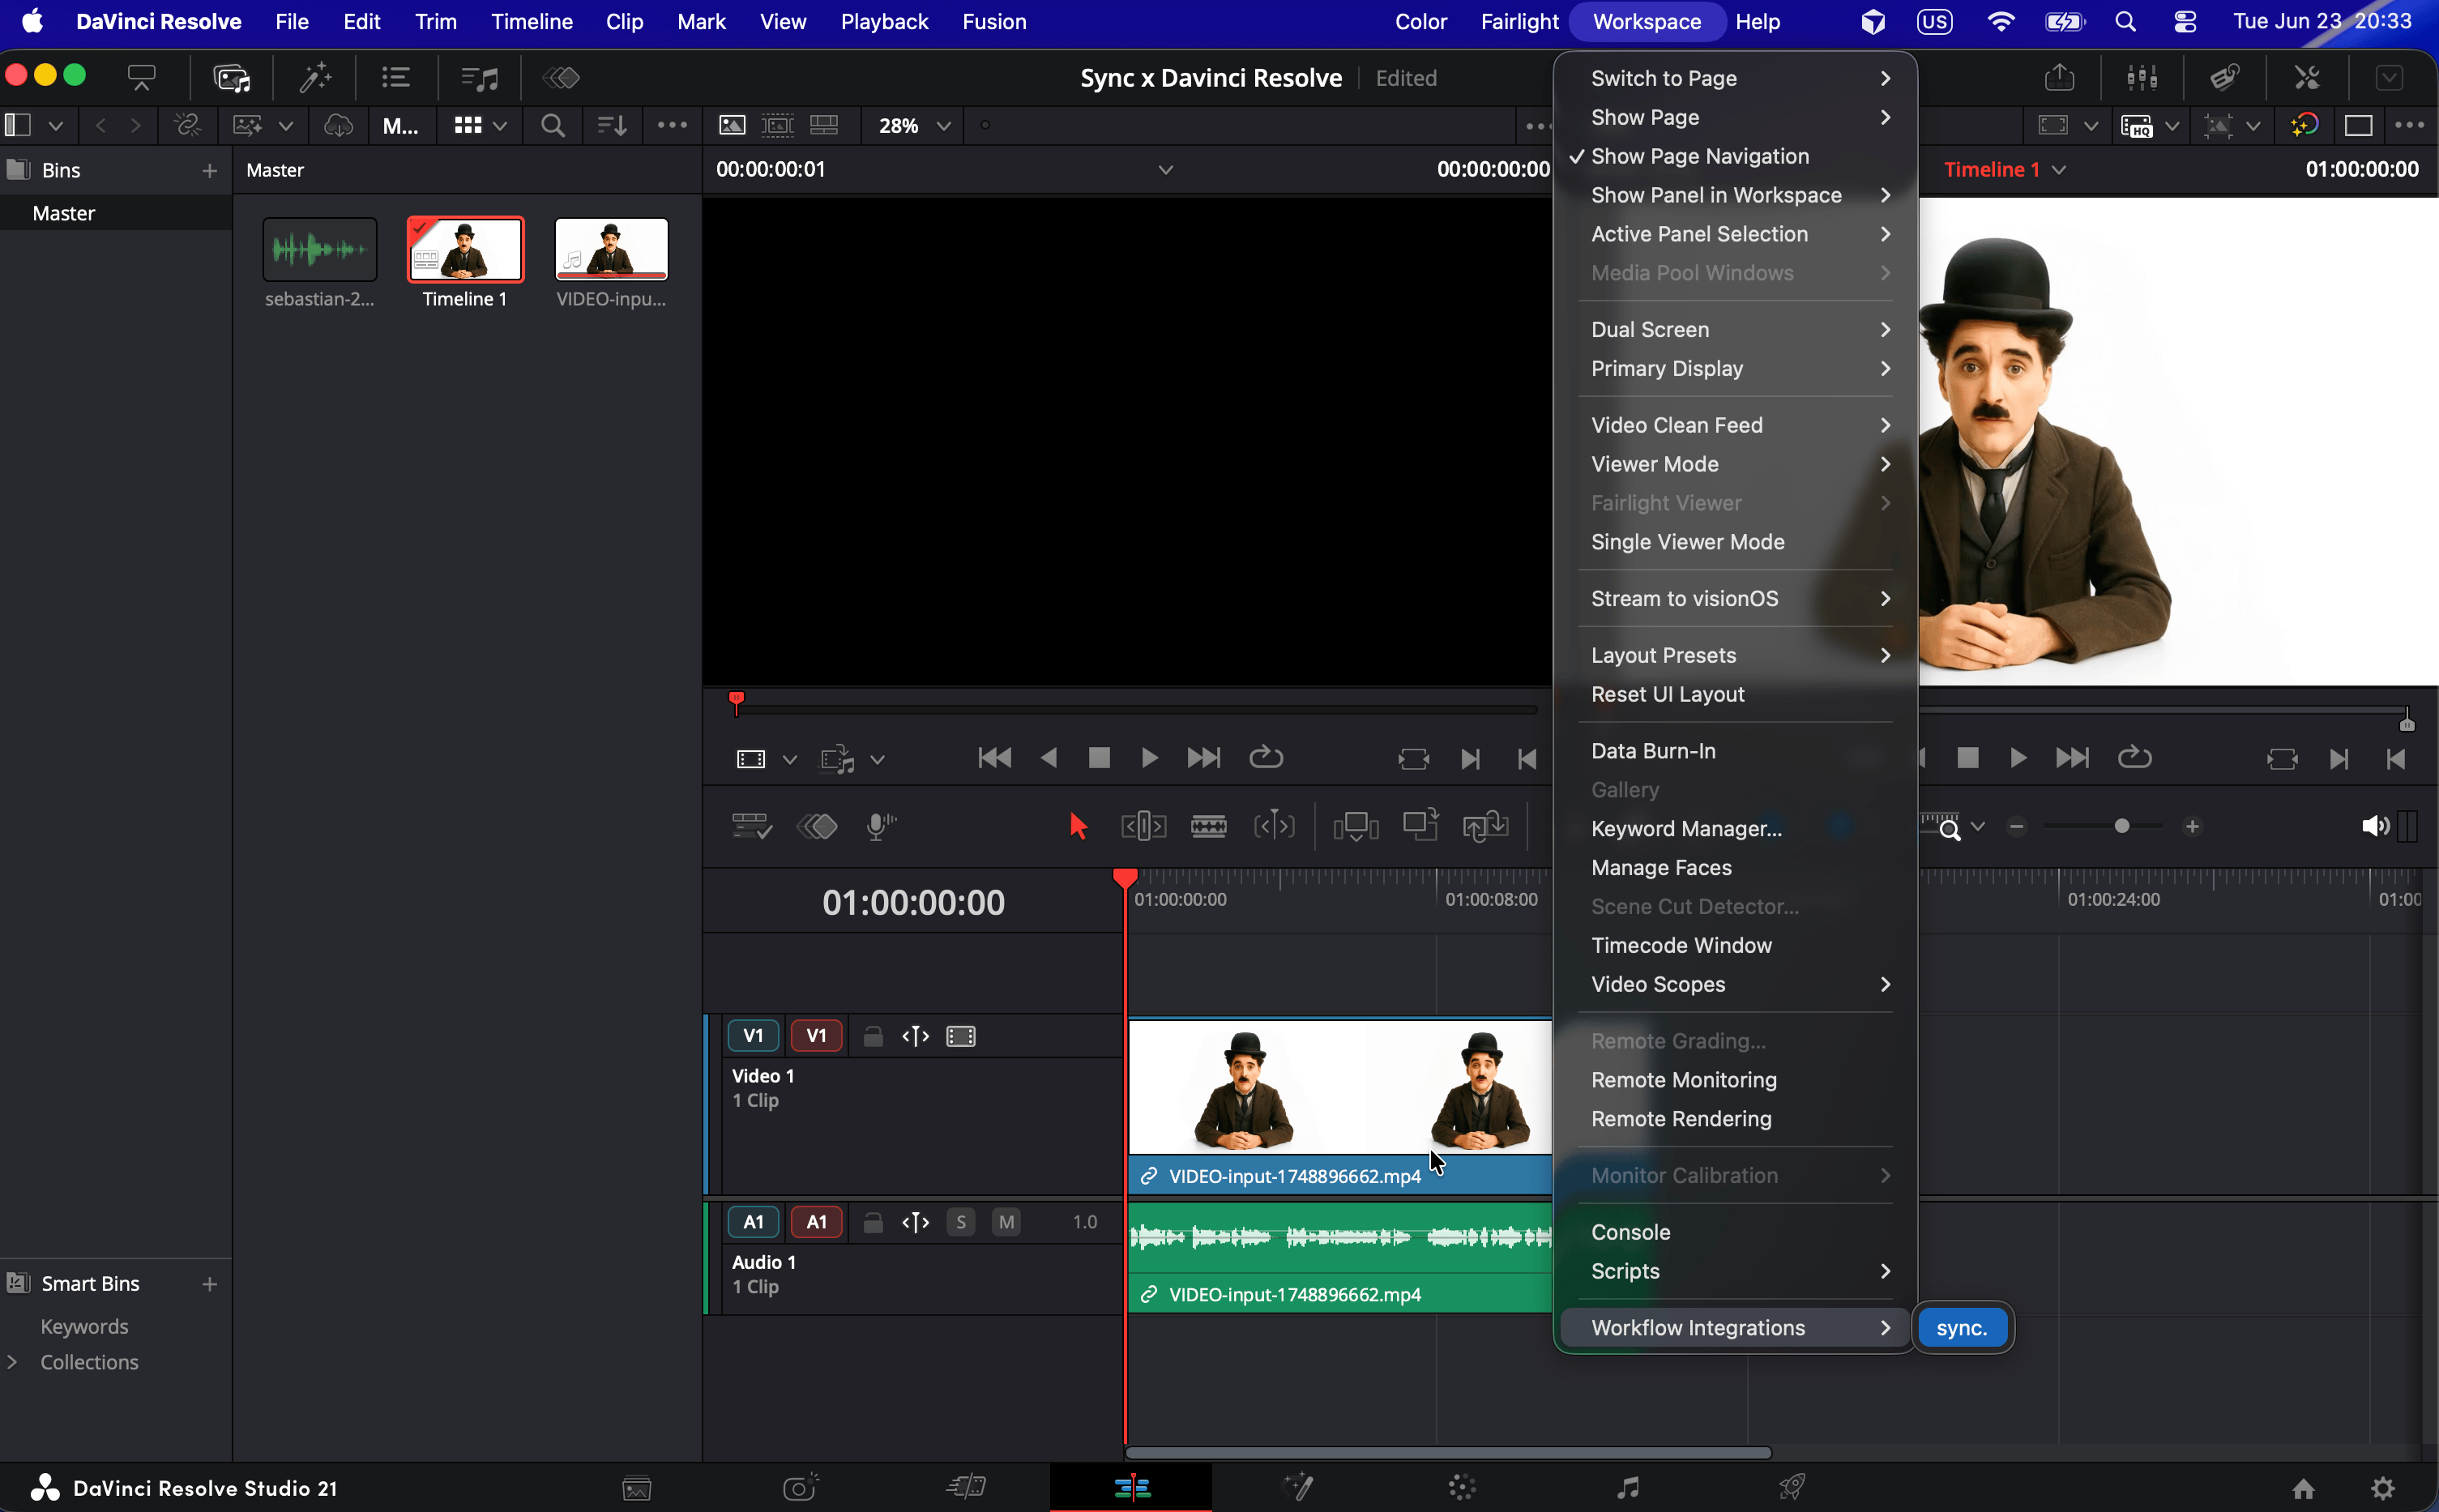
If you don’t see sync. under Workflow Integrations, see the Troubleshooting section below.
Troubleshooting
The plugin doesn’t appear under Workflow Integrations
Confirm you're running DaVinci Resolve Studio
Workflow Integration plugins only load in the Studio edition. The free edition of DaVinci Resolve won’t show the plugin under Workspace > Workflow Integrations. Check DaVinci Resolve > About DaVinci Resolve to confirm your edition.
Restart DaVinci Resolve
Completely quit DaVinci Resolve (not just close the project) and relaunch it so it re-scans the Workflow Integrations folder.
Re-run the installer
If the plugin still doesn’t appear, re-download it from sync.so/download/resolve-plugin and run the installer again, making sure to approve the administrator prompt.
The plugin panel is blank or unresponsive
- Make sure you have an active internet connection — the plugin needs to communicate with Sync Labs’ servers.
- Close the sync. panel and reopen it from Workspace > Workflow Integrations > sync.
- If the issue persists, restart DaVinci Resolve.
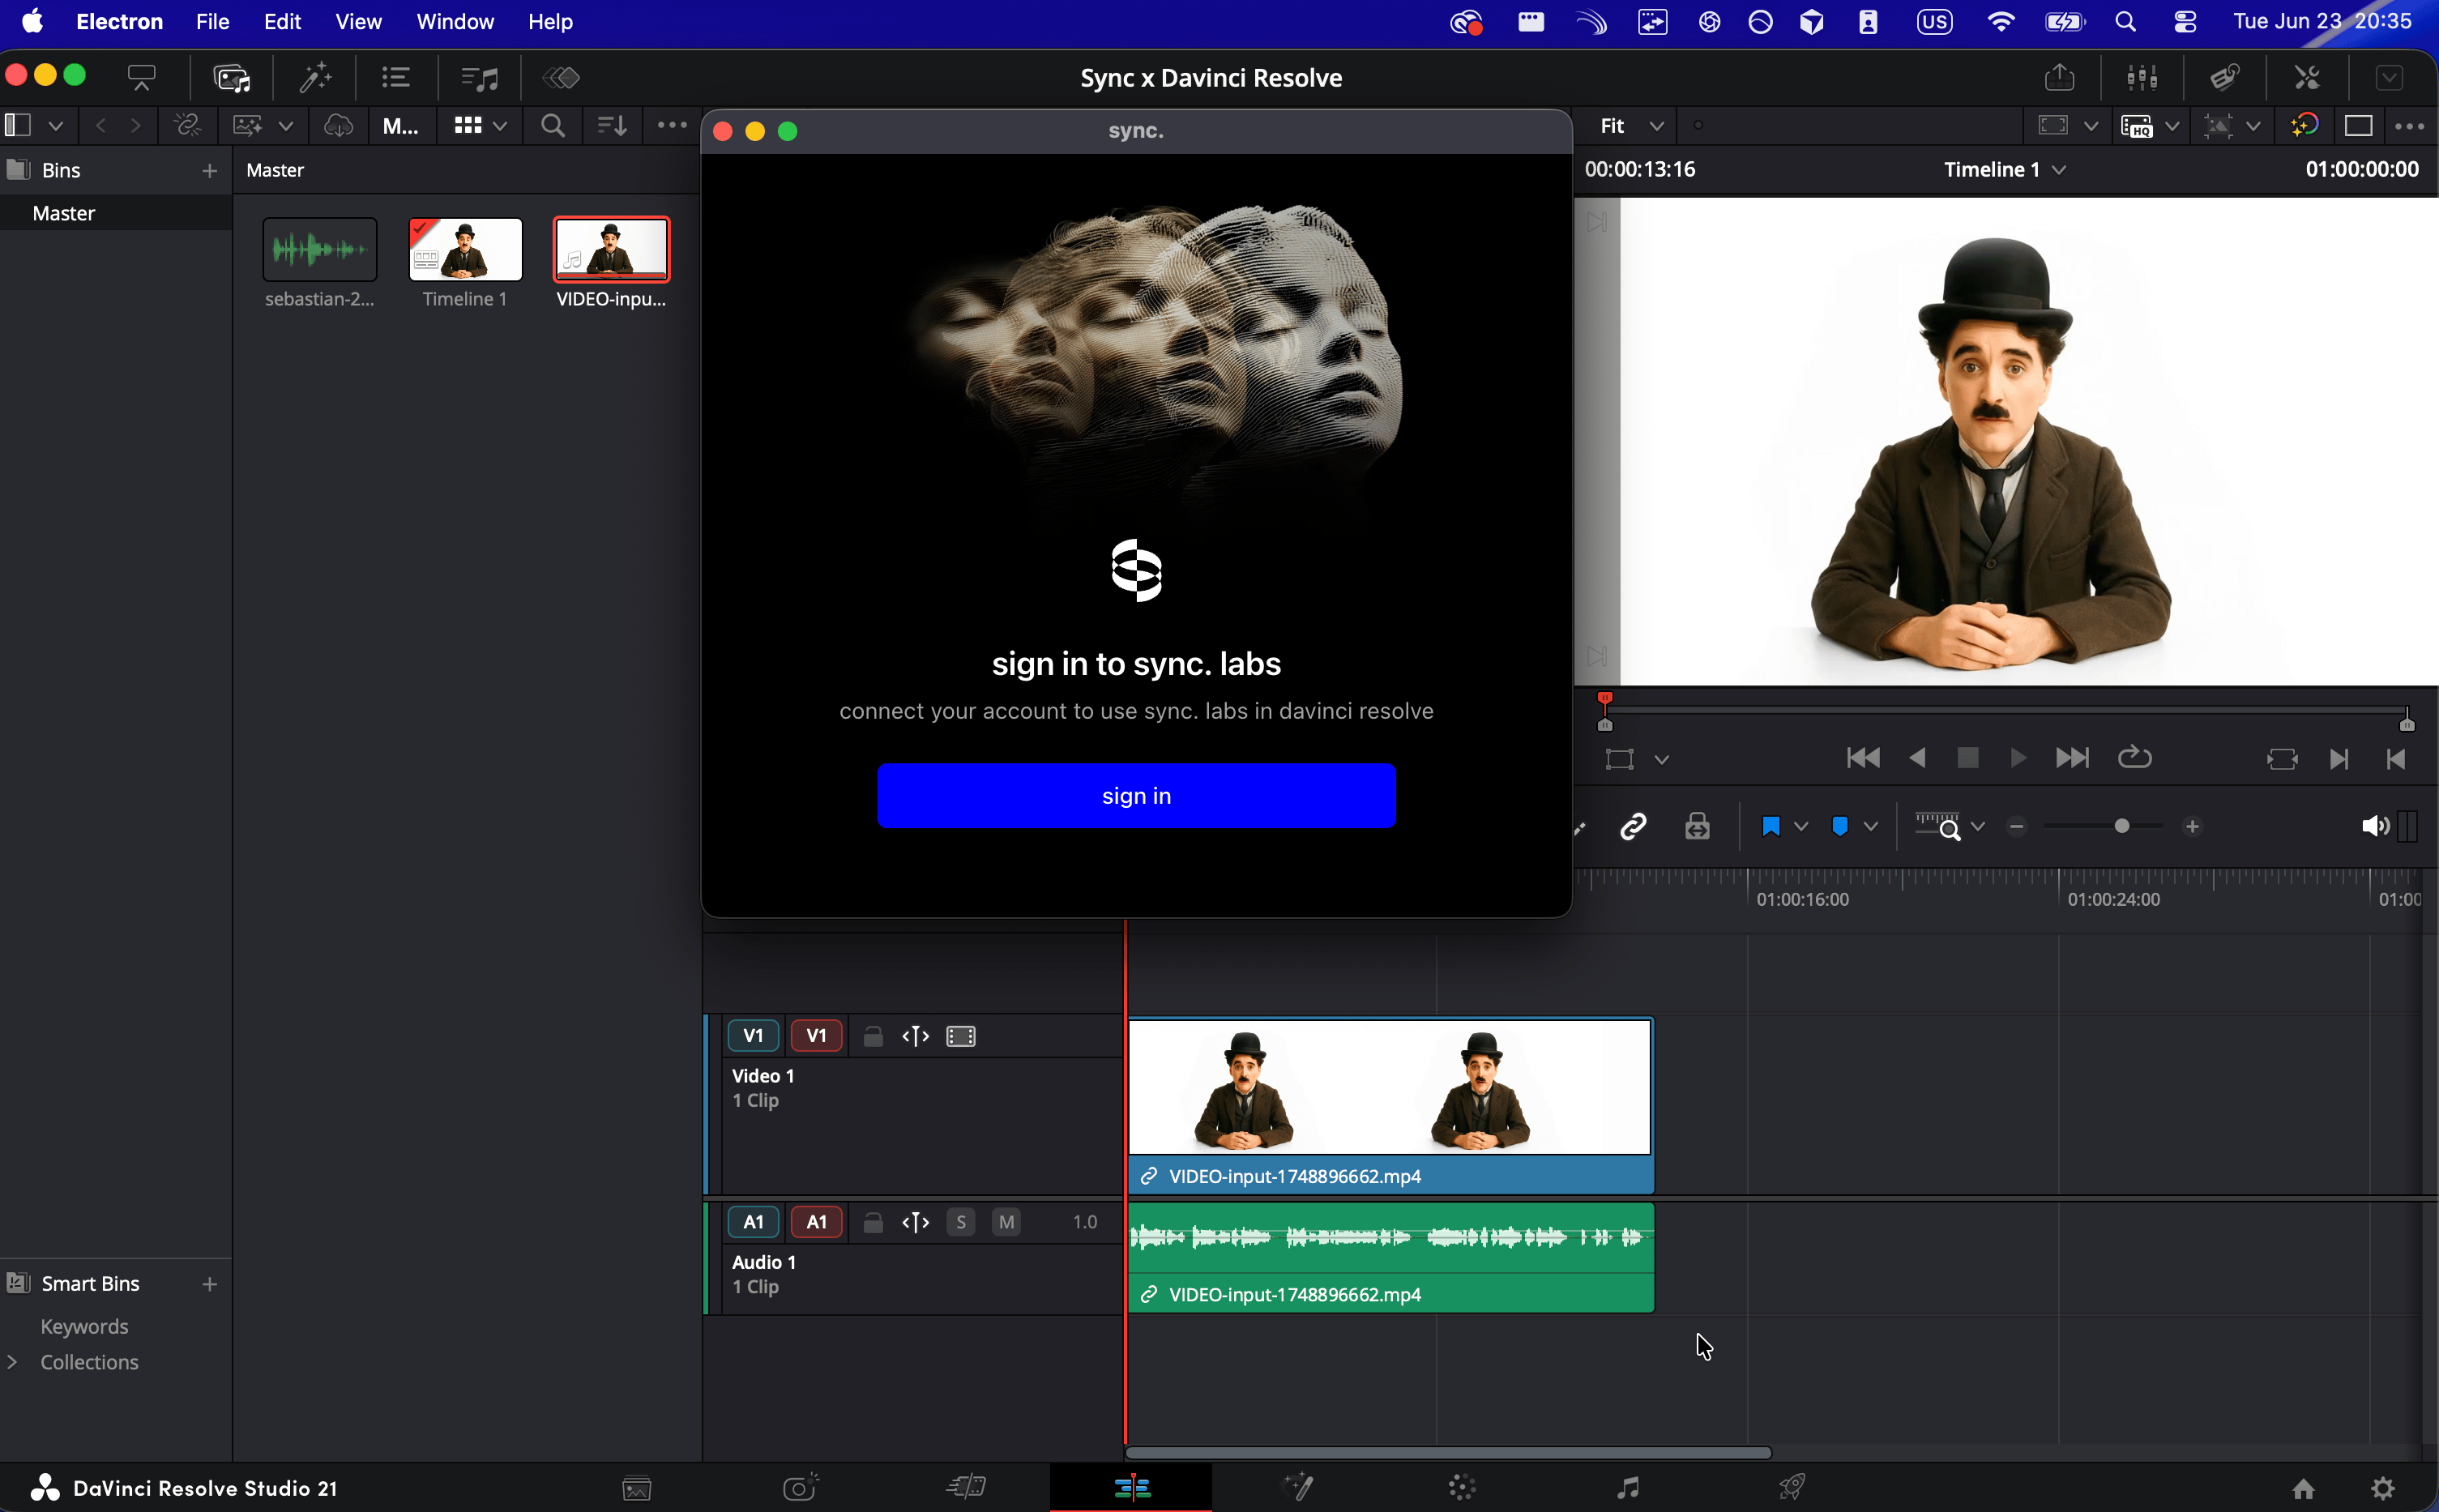
Sign-in issues
- If the verification page doesn’t open in your browser, copy the code shown in the plugin and visit the verification URL manually.
- Verify that your Sync Labs account is active by signing in at sync.so/login.
- If you’re behind a corporate firewall or VPN, make sure traffic to
sync.soand*.sync.sois not blocked.
Timeline export fails
When you generate from a timeline selection, DaVinci Resolve renders the selected range first. If the export fails, try reducing the length of your In / Out selection, or restart DaVinci Resolve and try again.
Uninstall
To remove the Sync Labs plugin, delete the sync folder from your DaVinci Resolve Workflow Integration Plugins directory, then restart DaVinci Resolve:
Next Steps
Once you’re signed in, head back to the DaVinci Resolve Plugin overview to learn how to use timeline selection, the media pool, and direct upload.
- Lipsync Model — learn about the lip sync models available in the plugin
- Billing — view your plan details and usage information