

Adobe Premiere Plugin
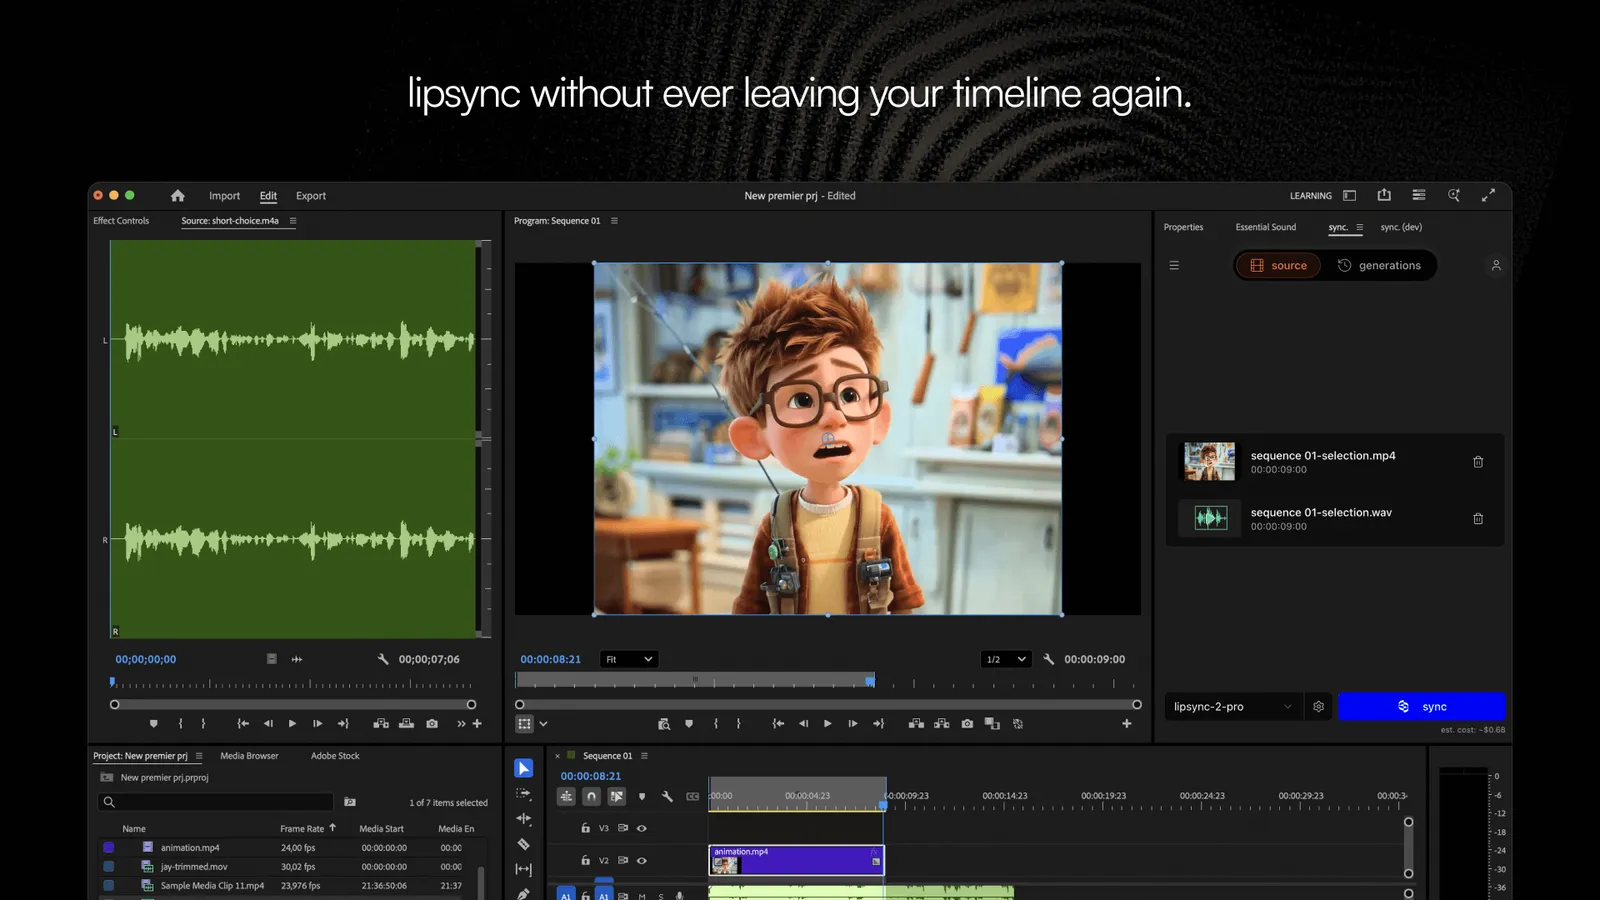
The Sync Labs plugin for Adobe Premiere brings the power of Sync Labs directly into your editing workflow. Select clips from your timeline, media browser, or upload files — and generate lipsynced video without switching between tools.
Key Features
See It in Action
Watch a walkthrough of the plugin in a real editing session:
How It Works
The plugin connects your Adobe Premiere environment to your Sync Labs account. Once installed and signed in, you can generate lipsynced video in three ways:
- From the timeline — set In / Out points on your sequence and hit generate. The plugin reads the selected range and sends it to Sync Labs.
- From the media browser — select any clip in your project panel and load it into the plugin without leaving Adobe Premiere.
- Via direct upload — drag a file into the plugin panel or use the upload button. The result is delivered back to the plugin and can be placed on your timeline.
Generated outputs are linked to your Sync Labs account. You can also view and manage them from the Sync Labs Studio.
Selecting a Speaker
Speaker selection lets you choose which person in a multi-person video gets lipsynced — without leaving Adobe Premiere. The same speaker selection is available in Sync Labs Studio and through the API. Follow the steps below to choose the person to lipsync.
Open the speaker picker
In the plugin panel, click the Choose speaker button. It appears only when your input is a video and you’ve selected a model that supports active speaker detection.
Scrub to a frame where the person is visible
In the Choose the speaker dialog, scrub the seek bar to a frame where the person you want to lipsync is clearly visible. The picker shows a live preview thumbnail and the frame’s timecode as you scrub.
Manual speaker selection and automatic active speaker detection are mutually exclusive. Confirming a manual selection turns off automatic detection, and it stays off for later clips too until you re-enable it in the model settings. Until you confirm a selection, automatic detection stays in effect and is used instead.
A manual selection works only when the video’s decoded frame size matches its source resolution.
System Requirements
Windows ARM users: Adobe Marketplace installation is not available on Windows ARM (e.g., Parallels on Apple Silicon). See the Installation Guide troubleshooting section for guidance about that installation channel.
Getting Updates
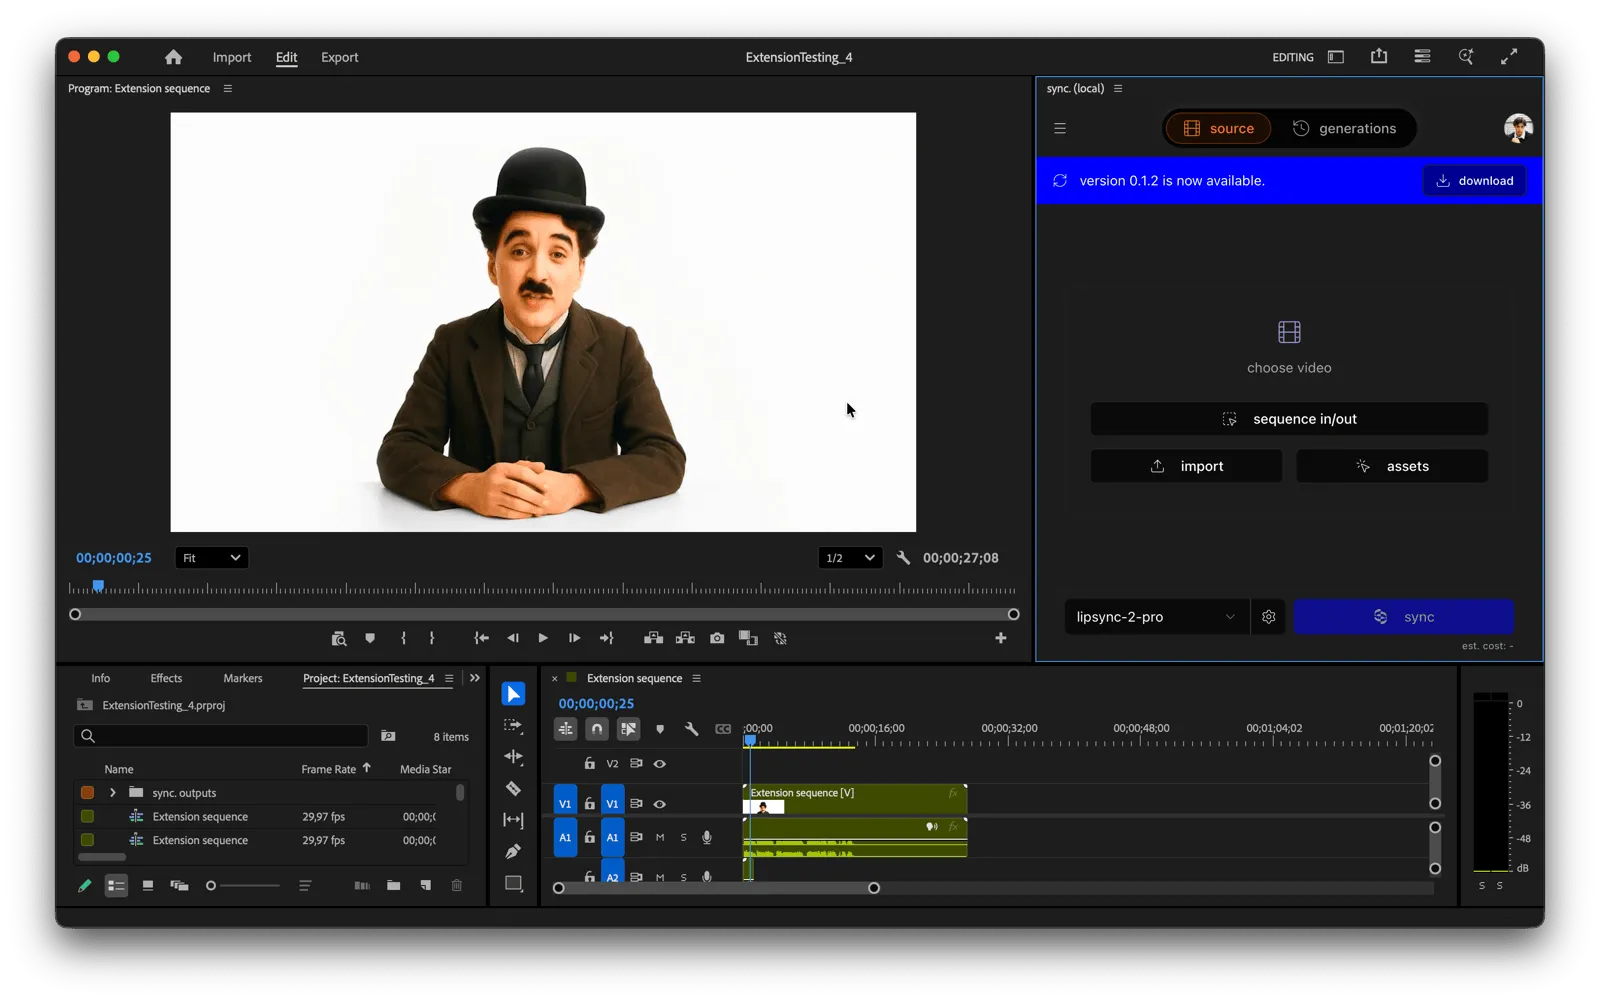
When a new version of the plugin is available, you’ll see a banner inside the Sync Labs plugin panel in Adobe Premiere notifying you of the update.
To install the update, open Adobe Creative Cloud and navigate to Stock & Marketplace > Plugins > Installed Plugins. The Sync Labs plugin will show an Update button when a new version is available.
Getting Started
Ready to set up the plugin? Follow our step-by-step Installation Guide.
Need Help?
If you run into issues or need help adapting the plugin to your workflow, reach out to us:
- Email: support@sync.so
- Discord: Join our community
For billing details and usage information, visit the Billing page.
Related Resources
- Lipsync Model — learn about the lip sync models available for use in the plugin
- Billing — view your plan details, usage, and subscription options