

DaVinci Resolve Plugin
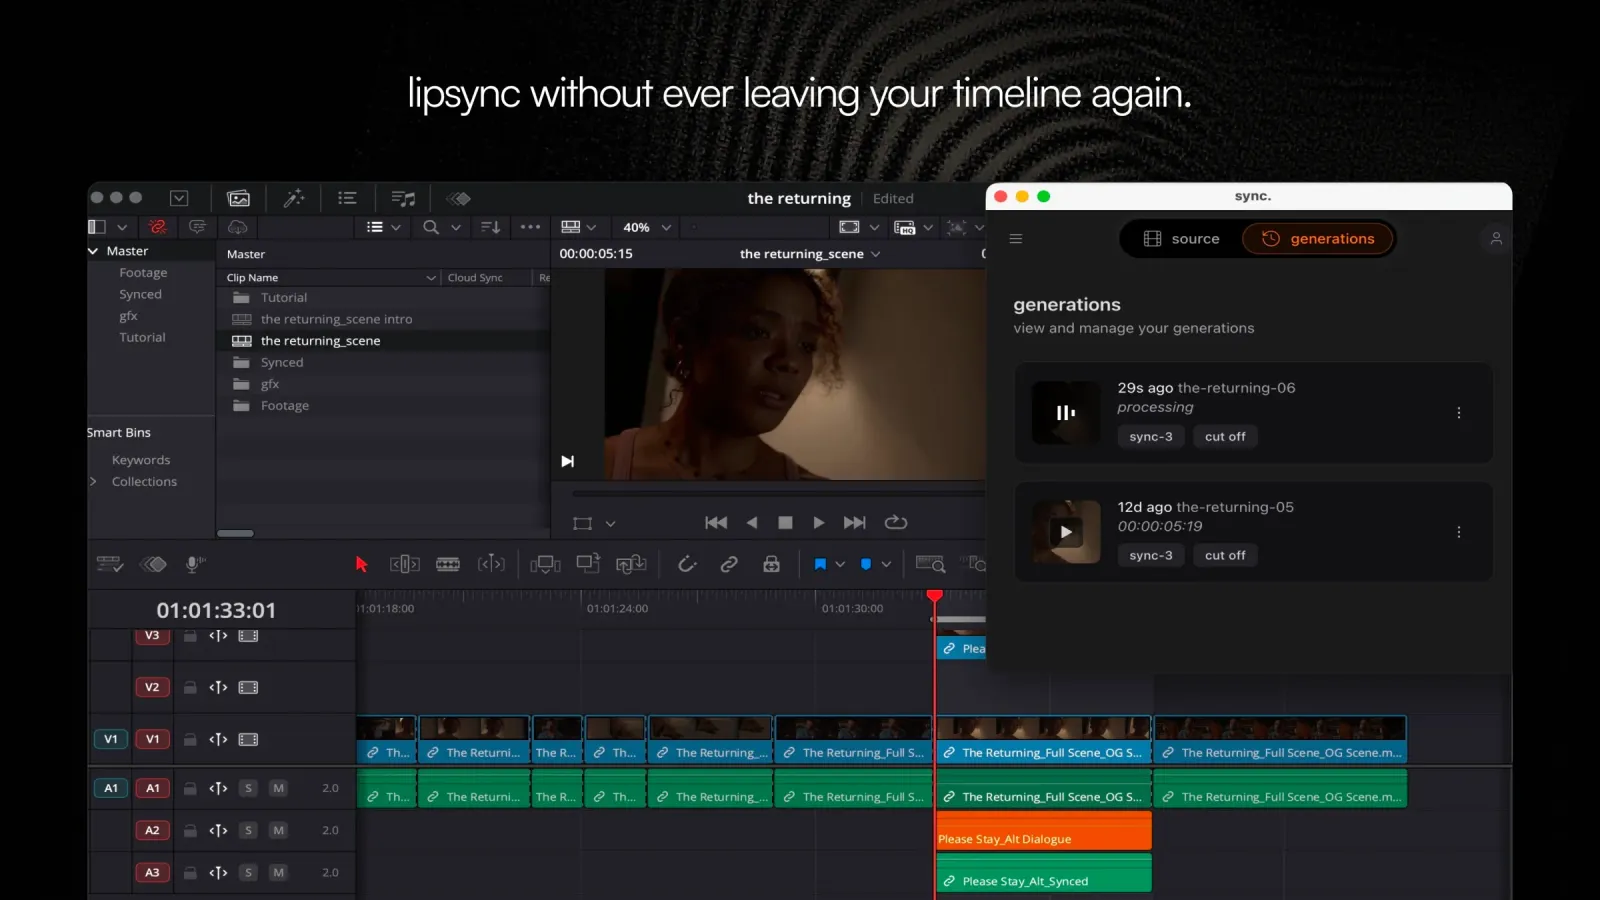
The Sync Labs plugin for DaVinci Resolve brings the power of Sync Labs directly into your editing workflow. Select clips from your timeline, media pool, or upload files — and generate lipsynced video without switching between tools.
Key Features
See It in Action
Watch a walkthrough of the plugin in a real editing session:
How It Works
The plugin runs as a Workflow Integration inside DaVinci Resolve Studio. Once installed and signed in, you can generate lipsynced video in three ways:
- From the timeline — set In / Out points on your sequence and hit generate. The plugin renders the selected range and sends it to Sync Labs.
- From the media pool — select any clip in your media pool and load it into the plugin without leaving DaVinci Resolve.
- Via direct upload — pick a file from your computer using the upload button. The result is delivered back to the plugin, ready to import into your media pool or drop onto your timeline.
Generated outputs are linked to your Sync Labs account. You can also view and manage them from the Sync Labs Studio.
Speaker Selection
When your source has more than one person in frame, speaker selection lets you manually pick exactly which face gets lipsynced. It’s an alternative to Active Speaker Detection, which lets Sync Labs identify the speaker for you. Choose speaker selection when a scene has several people and you need to be certain the right one is synced.
Speaker selection is available with the lipsync-2, lipsync-2-pro, and sync-3 models. react-1 does not support this feature — the speaker control does not appear while react-1 is selected.
Open speaker selection
After you load a clip from the timeline, media pool, or a direct upload, the source and settings screen shows the speaker control. While the plugin reads the video’s metadata, the control is disabled and reads Reading video…. Once it’s ready, it reads Choose speaker; select it to open the selection dialog. After a speaker is set for the current source, the control reads Change speaker and shows a checked-person indicator.
Wait for the source to load
The plugin uploads and decodes the selected source once, then opens the speaker selection dialog. Later selections on the same source reuse the version it already decoded, so you only wait the first time.
Choose the target face
The dialog opens on a video-position seek bar. Scrub it to find a clear frame of the person you want to lipsync — a live thumbnail preview and an editor-style timecode readout update as you scrub. Each detected face in the frame is outlined with its own box; click the box around your target face. The box you select is highlighted. To fine-tune it, drag its corners to resize or drag inside it to reposition.
Confirming a manual selection turns off Active Speaker Detection, and turning on Active Speaker Detection clears the manual selection indicator — the two cannot both be active at the same time.
To change your selection, select Change speaker, scrub to a frame and pick a different face, then select Use this speaker. Confirming a different face replaces the previous choice.
If the source changes after you set a speaker, the previous selection no longer applies to it. The plugin clears that selection and prompts you to choose the speaker again for the current source.
For the same feature in the browser, see the Speaker Selection Studio guide.
System Requirements
The plugin only works with DaVinci Resolve Studio. Workflow Integration plugins are not supported in the free edition of DaVinci Resolve, so the plugin won’t appear there.
Getting Updates
When a new version of the plugin is available, you’ll see a banner inside the Sync Labs plugin panel in DaVinci Resolve notifying you of the update.
Click the update button in the banner to grab the latest installer from the download page. Run the installer and the new version replaces the old one in place — just restart DaVinci Resolve when it’s done.
Getting Started
Ready to set up the plugin? Follow our step-by-step Installation Guide.
Need Help?
If you run into issues or need help adapting the plugin to your workflow, reach out to us:
- Email: support@sync.so
- Discord: Join our community
For billing details and usage information, visit the Billing page.
Related Resources
- Lipsync Model — learn about the lip sync models available for use in the plugin
- Billing — view your plan details, usage, and subscription options